

If every conversation with Copilot starts with you reminding it that the project uses Vue, that tests run with one specific command and that file names are lowercase, you are paying for the same context over and over. Copilot doesn't know your project's context unless you write it down, and it reaches the outside world only through the doors you open.
Three levels of instructions
Custom instructions are plain text that Copilot receives automatically along with your request. They work at three levels:
| Level | Who it affects | What it is for |
|---|---|---|
| personal | only you | response language, level of detail, style |
| repository | everyone working in a given repository | languages, frameworks, architecture, coding and testing conventions |
| organization | every member of the organization | language, security and compliance guidance, pointers to an internal knowledge base |
Organization instructions need a Copilot Business or Enterprise plan and currently work in chat on GitHub, in Copilot code review and in the cloud agent. The repository level gives you the most, because that is where the knowledge about the project lives.
A language model isn't deterministic, so Copilot won't always apply an instruction in exactly the same way. Instructions make answers more relevant, but they don't guarantee compliance with any policy.
Repository instructions: three kinds of file
A repository has three kinds of instruction, and each one answers a different question.
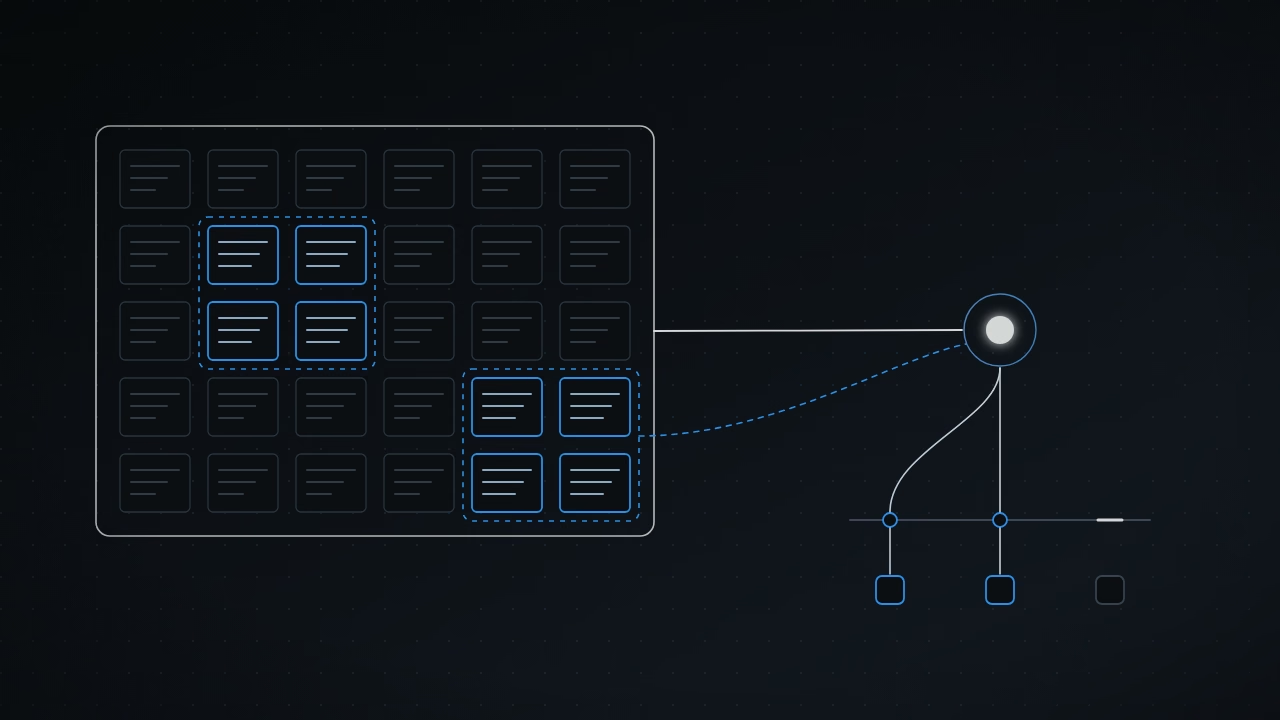
Repository-wide instructions live in .github/copilot-instructions.md. They go with every request made in the context of the repository, including chat and Copilot code review. This is where you describe what the project is, how to build and test it, and which conventions to follow.
Path-specific instructions are files matching .github/instructions/**/*.instructions.md, meaning NAME.instructions.md files in the .github/instructions directory or its subdirectories. Each file starts with a block containing an applyTo key and a path pattern:
---
applyTo: "**/*.ts,**/*.tsx"
---
Write components as functions. Every new component gets a test.
If the file Copilot is working on matches the pattern and a repository-wide file also exists, Copilot gets both sets. That keeps the main file free of rules that only apply to tests or to one directory. The optional excludeAgent key, set to "code-review" or "cloud-agent", hides a file from code review or from the cloud agent. On GitHub, path-specific instructions currently work only in the cloud agent and in code review.
Agent instructions are AGENTS.md files you can place anywhere in the repository. While Copilot works, the nearest one in the directory tree takes precedence. Instead of those, you can keep a single CLAUDE.md or GEMINI.md file at the root. Don't confuse them with custom agent definitions in .github/agents: those files describe specialized agents and their configuration, not the rules for working in the repository.
Which kinds work depends on where you are (GitHub, VS Code, Visual Studio, JetBrains, Xcode, Eclipse) and on the task: chat, cloud agent work or review. Before you build the whole structure, check what your environment supports in its documentation.
What wins when instructions differ
In chat on GitHub, Copilot receives every relevant instruction, and on conflict this order applies:
- personal instructions;
- repository instructions: path-specific files first, then the repository-wide file, then
AGENTS.md; - organization instructions.
In many other places, including Copilot CLI, VS Code and Visual Studio, the files are simply combined with no general order. Don't write instructions that contradict each other. If you suspect they are hurting the answers, switch repository instructions off for a moment and compare.
How to write instructions that work
Instructions travel with every message, so they should apply to most requests in the repository. Short, self-contained statements work best. A good file covers three things:
- a short overview of the project: its purpose, context and main assumptions;
- coding standards: naming, formatting, agreed practices;
- the tools, libraries and frameworks in use, with versions where they matter.
Example statements: "Use Vue with the PrimeVue library." or "Use early returns whenever possible." Copilot can act on a sentence like that without asking.
In a large repository with many contributors, three types of instruction can cause trouble:
- pointing at external resources ("follow the style guide in another repository");
- dictating a response style ("answer like a friendly colleague");
- hard limits on detail ("answer in fewer than N characters").
You don't have to write the file from scratch. Copilot's cloud agent can review the repository and draft copilot-instructions.md itself: in the Agents view you pick the repository and paste a prompt that asks it to document the build, the tests, the project layout and known workarounds. The agent opens a draft pull request with the file and adds you as a reviewer. The first time the agent opens a pull request in a new repository, Copilot also leaves a comment with a link that generates the file for you.
Once saved, instructions take effect immediately. To check whether chat used them, expand the list of references above a response and look for .github/copilot-instructions.md. Copilot code review reads instructions from the branch you are merging, not from the target branch. So you can test a change to the instructions in the same pull request, before it reaches the main branch.
Agent mode in your editor
In agent mode, Copilot takes a high-level task, decides which files to change, makes the edits and runs commands until the task is done. It works in VS Code, Visual Studio, JetBrains, Xcode and Eclipse. You stay in control: you review the changes, and by default you approve terminal commands before they run. Your administrator, or your own settings, may let some commands run automatically.
Choose agent mode when:
- the task has several steps and needs iteration and error handling;
- you want Copilot to work out the steps;
- the task involves an external application, for example through an MCP server.
Starting looks much the same everywhere: open Copilot Chat, pick Agent in the mode selector and type your request. Copilot streams edits into the editor, updates the working set and proposes terminal commands when needed. If you don't see the Agent option, your organization's administrator may have disabled it for your editor.
You steer the agent while it works. You can send a follow-up to change direction before it finishes, confirm or reject each proposed terminal command, and undo any edit you don't want. For a large or ambiguous task, ask for a plan first and the code second. Before you send a task you can also switch the model or pick a custom agent built for that kind of work.
Keep the cost in mind: every prompt you send (a message to the agent) consumes GitHub AI credits.
MCP: a door to tools and data
The Model Context Protocol (MCP) is an open standard that describes how applications share context with language models. In Copilot it adds connections to tools and data. A connected issue tracker, for example, lets Copilot look up the bug it is fixing without you pasting it into chat. MCP doesn't replace instructions: instructions say how to work, MCP gives access to what the agent needs.
MCP works in the GitHub Copilot app, Copilot CLI, editors and the cloud agent, but each place is configured differently. Don't assume a setting from one place applies in another.
The cloud agent starts with two servers:
- GitHub: access to issues, pull requests and repository data, by default through read-only credentials scoped to the current repository;
- Playwright: reading pages, clicking and taking screenshots, by default only on
localhostinside the agent's environment.
Additional servers are added by a repository administrator in the repository settings on GitHub. That configuration applies to both the cloud agent and Copilot code review. Only MCP tools are supported, not resources or prompts, and remote servers that authenticate with OAuth can't be connected. Code review only uses tools marked read-only (readOnlyHint: true). An MCP server can also belong to a single custom agent instead of being available to every agent in the repository.
The cloud agent calls MCP tools autonomously and doesn't ask for approval first. In the editor, you approve commands. In the cloud, the tool allowlist does that job.
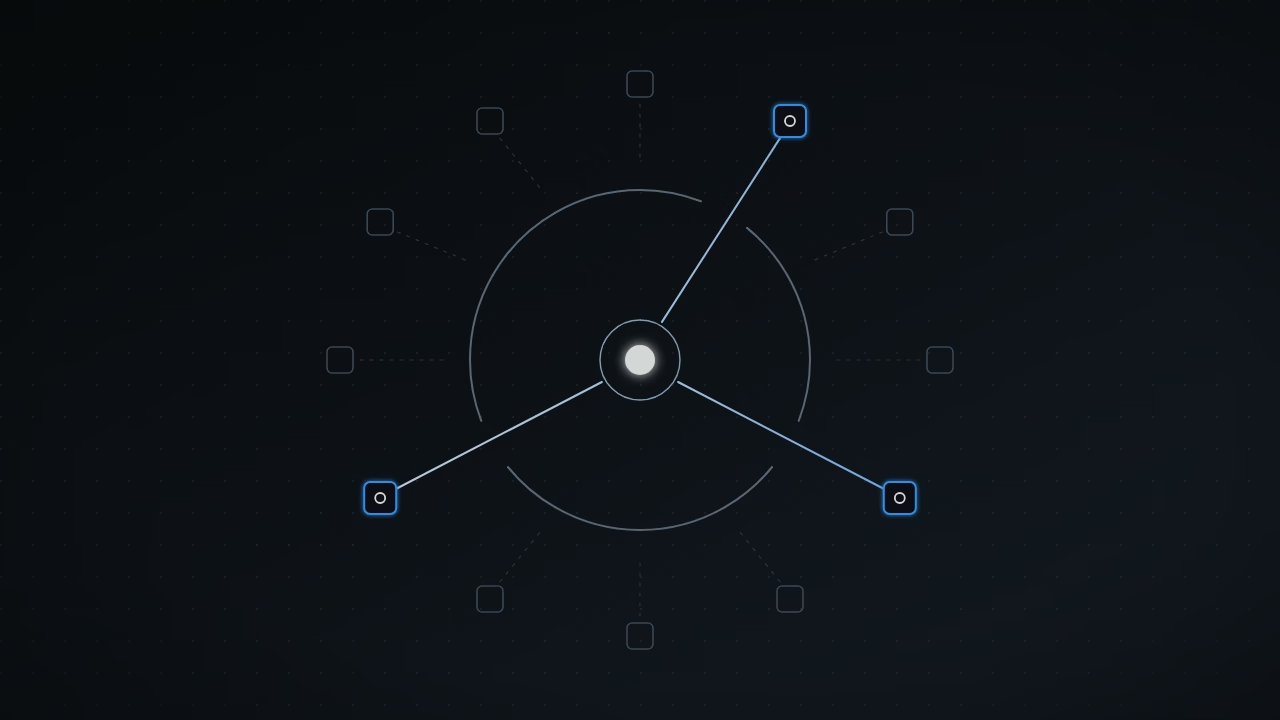
So for every server, follow four rules:
- Review a third-party server before enabling it: its tools, how it authenticates, what data it reaches.
- Enable only the tools you need. Use the
toolsfield in the repository settings to allowlist specific tools, read-only ones where possible. - Keep credentials narrow. Don't widen the agent's default credentials unless the task requires it.
- Check the configuration in a session before relying on it: which servers and tools the agent can actually see.
The same logic applies to the GitHub MCP server. It splits its capabilities into toolsets that you switch on or off. Fewer tools means the model picks the right tool more often, makes fewer mistakes and has more room left in its context window.
In a company, administrators have a say too. For Copilot Business and Enterprise plans, MCP use is governed by a separate policy that is off by default. You can look for ready-made servers from partners and the community in the GitHub MCP Registry.
The order I recommend
Start with repository instructions, because without them every other layer works blind: generate the file with the agent or write it yourself, keep it short, and check on a few questions that it shows up in the references. Then work in agent mode in your editor, where you see every step and learn what Copilot is missing. Add MCP last, one server at a time, with a tool allowlist. Context you write into the repository works in every conversation, and it is the only context that survives a change of person at the keyboard.
Your team works with GitHub Copilot? See the GitHub Copilot pilot.